Halloween is the perfect time for creativity to run wild, especially when it comes to decorating your home. This year, consider crafting your own decorations as a family instead of purchasing ones. DIY Halloween decor is cost-effective and a great way to spend quality time together, spark your kids’ imaginations, and make your home uniquely spooky. No matter if you’re going for an eerie, whimsical, or downright adorable vibe, creating decorations together adds a memorable and personal touch to the holiday. Kids love getting hands-on with glue, paint, and sparkles. To kick things off, here are some fun, imaginative, and easy Halloween decor projects you can tackle with your little goblins by your side.
1. Spooky Mason Jar Lanterns
These glowing jars are simple to make, look amazing in dim lighting, and can be customized in countless spooky designs.
Supplies You’ll Need:
- Mason jars (or any clear glass jars)
- Tissue paper or construction paper in Halloween colors (orange, black, purple, green)
- Mod Podge or diluted glue
- Paintbrushes
- Battery-operated tea lights
Instructions:
- Prep the Jars: Clean and dry the jars to create a smooth surface.
- Design the Jars: Cut out Halloween shapes from black construction paper (e.g., bats, spiders, witches hats) or use tissue paper for a translucent effect.
- Apply the Decor: Brush a layer of Mod Podge or glue on the jar’s surface and attach the cutouts. Cover the exposed areas with a layer of colored tissue paper.
- Seal It: Once everything is in place, brush over the entire jar with another layer of Mod Podge to seal the tissue paper and designs.
- Light It Up: Place a battery-operated tea light inside to create an eerie glow.
Give each family member their own jar to make and see how unique everyone’s designs turn out.
2. No-Carve Pumpkin Characters
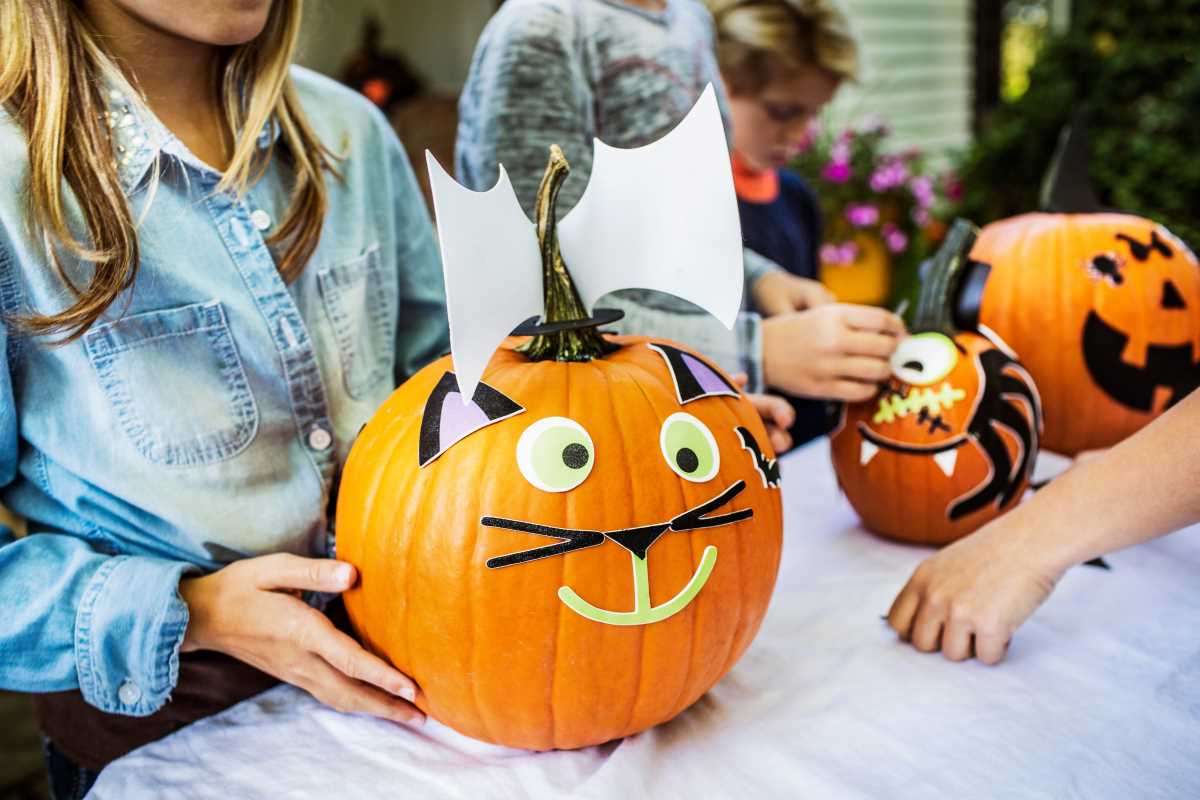
Carving pumpkins can be tricky for little hands, so this no-carve alternative is safe, easy, and just as fun.
Supplies You’ll Need:
- Pumpkins (real or foam)
- Acrylic paints
- Paintbrushes and sponges
- Googly eyes, felt, pipe cleaners, pom-poms, paper-printed faces, and other craft supplies
- Hot glue or school glue
Instructions:
- Pick a Design: Decide whether you’ll make spooky monsters, silly faces, or something cute like animals.
- Paint the Base Coat: Paint the entire pumpkin one color to serve as a base. A black pumpkin could be turned into a cat, or an orange pumpkin could become a jack-o’-lantern face.
- Add Details: Use googly eyes, felt cutouts, and pipe cleaners to give your pumpkin character some personality. Glue on ears, fangs, or silly eyebrows for fun touches.
- Display Your Masterpiece: Line your porch or living room with the finished pumpkins.
This project is especially great for kids who want their pumpkins to last all month without rotting.
3. Creepy Spider Webs
Make your home look haunted with some easy DIY spider webs made of yarn or string.
Supplies You’ll Need:
- White or black yarn
- Scissors
- Tape or glue
- Plastic spiders or spider cutouts
Instructions:
- Create the Web Frame: Tape or glue long pieces of yarn in a starburst pattern, with all the lines crossing in the center.
- Weave the Web: Tie and weave smaller pieces of yarn across the frame to form a realistic web. Older kids can handle this step, while younger ones help stretch and place the yarn strands.
- Add Spooky Touches: Hang plastic spiders in the web or cut out paper ones with googly eyes to stick on.
- Hang It Up: Place webs in the window, across doorways, or over furniture for a creepy vibe.
If you want an even simpler version, stretch cotton batting across surfaces to mimic a cobweb look.
4. Paper Plate Jack-O’-Lanterns
Try making paper plate jack-o’-lanterns for a craft that’s cheap, easy, and perfect for toddlers and preschoolers.
Supplies You’ll Need:
- Paper plates
- Orange paint or crayons
- Construction paper (black and green)
- Glue stick
Instructions:
- Decorate the Base: Paint or color the paper plate orange to serve as your pumpkin’s face.
- Add the Features: Cut out eyes, a nose, and a mouth from black construction paper. Glue them onto the “pumpkin.”
- Top It Off: Add a green paper “stem” or vine at the top of the plate.
- Hang and Enjoy: These decorations are lightweight and easy to hang on walls or windows.
This is a great entry-level craft for younger kids honing their scissors and fine motor skills.
5. Ghostly Milk Jug Lanterns
Recycle your old milk jugs to make glowing ghost lanterns that are perfect for your front yard or porch.
Supplies You’ll Need:
- Empty gallon milk jugs
- Black permanent marker
- String lights or battery-operated fairy lights
Instructions:
- Clean the Jugs: Wash and dry the milk jugs thoroughly.
- Draw the Faces: Use the marker to draw spooky ghost faces on each jug.
- Add the Lights: Fill each jug with a string of lights or fairy lights.
- Line Them Up: Arrange the glowing lanterns along your walkway or steps for a welcoming (and haunting) effect.
This project is eco-friendly and quick and easy, making it a win-win.
6. Handprint Bats
Transform little handprints into adorable bats for a keepsake-worthy Halloween craft.
Supplies You’ll Need:
- Black construction paper
- White chalk or a white crayon
- Scissors
- Googly eyes
- Glue stick
Instructions:
- Trace Hands: Have your kids trace both of their hands onto black construction paper and cut them out.
- Make the Bat Body: Cut out an oval shape from the same paper for the bat’s body.
- Assemble the Bat: Glue the handprints (fingers pointing outward) to the back of the oval to make bat wings.
- Add Details: Glue on googly eyes and draw a little smile with the white crayon.
- Hang Them Up: These bats look great taped to windows or strung together as a garland.
 (Image via