 (Image via
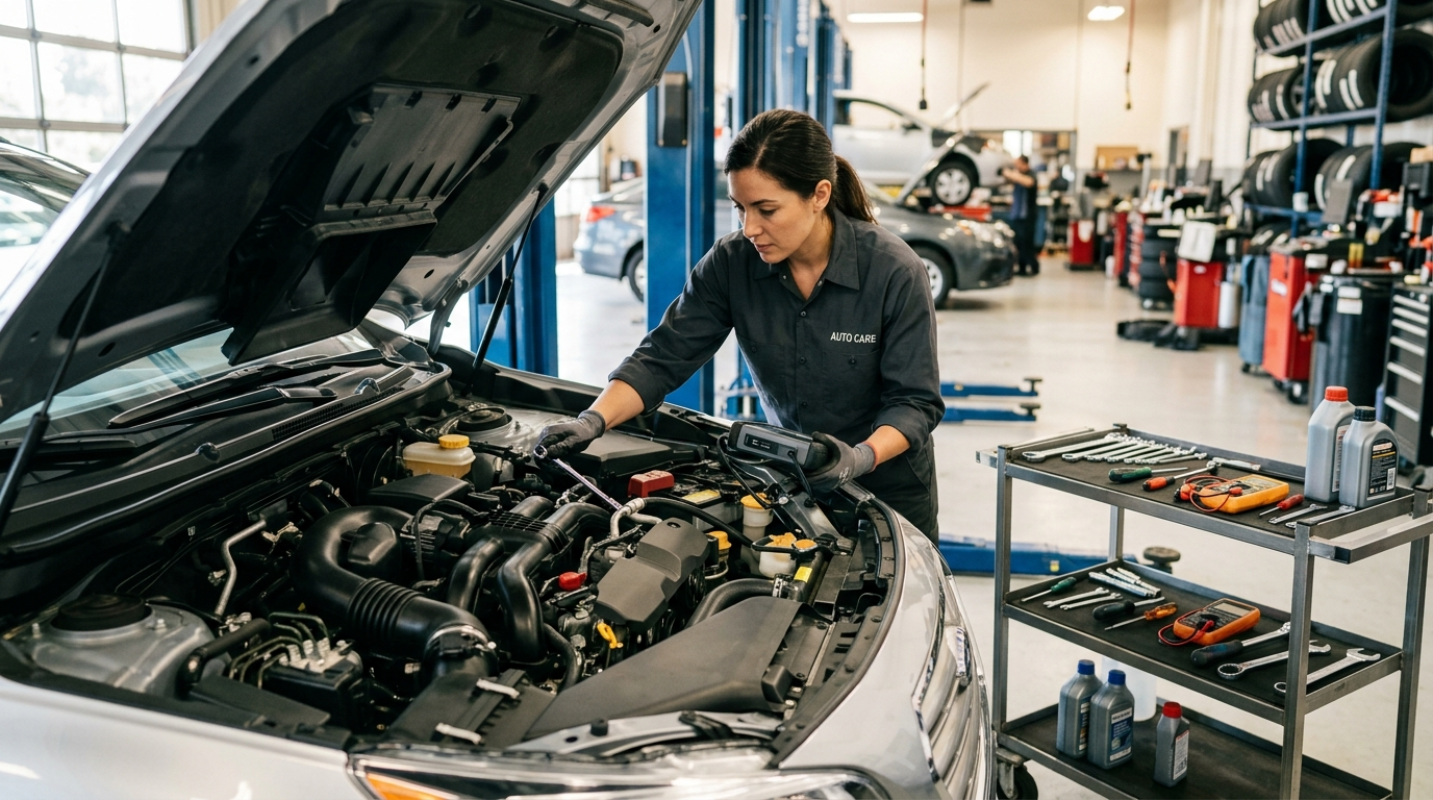
Keeping your vehicle in good condition doesn’t have to break the bank or require constant trips to the mechanic. A little time, effort, and basic know-how can help you save a hefty sum while keeping your car running smoothly. DIY vehicle maintenance cuts down on repair costs and helps you learn more about your car. It might even build confidence in tackling small projects yourself. You also won’t have to rely on expensive professionals for every little issue. To get you started, here are some essential DIY vehicle maintenance tasks that are simple, effective, and cost-saving. Follow these steps, and you’ll be well on your way to becoming your own mechanic.
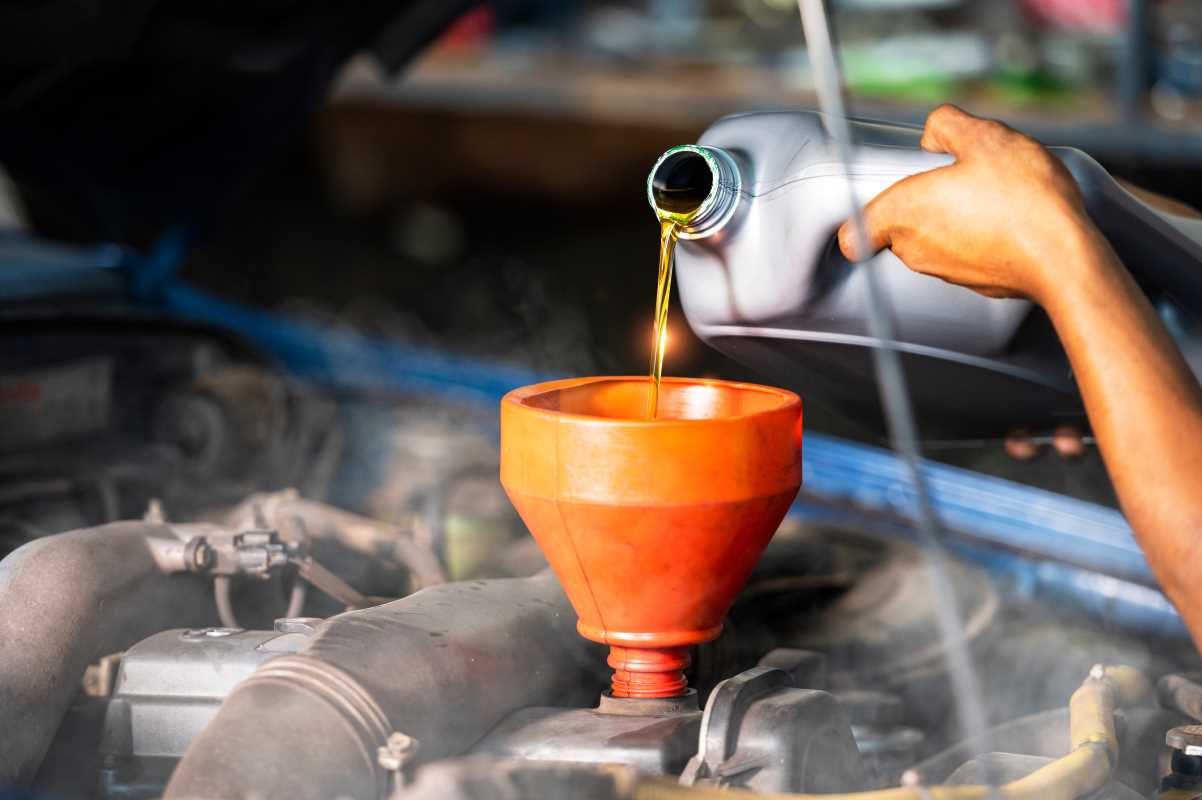
Changing the Oil
Regular oil changes are one of the best things you can do for the health of your engine. Oil lubricates all the moving parts and prevents overheating. Depending on the manufacturer, most vehicles need an oil change every 5,000–7,500 miles. Here’s how you can do it yourself.
What You’ll Need
- New oil (check your owner’s manual for the type)
- A new oil filter
- A wrench
- Oil filter wrench
- Funnel
- Drain pan
- Gloves
Steps
- Warm up the engine for about 5–10 minutes. This makes the oil flow out more easily.
- Park the car on a flat surface and use jack stands to elevate it securely.
- Place the drain pan under the oil plug (usually located at the bottom of the engine).
- Using the wrench, remove the oil plug and allow the old oil to drain completely. Be careful, as the oil may still be hot.
- Use the oil filter wrench to remove the old oil filter and replace it with the new one. Before installing the new filter, apply a little oil to the rubber seal to ensure a snug fit.
- Replace the oil plug and tighten it securely.
- Use the funnel to pour the new oil into the engine via the oil filler cap on top of the engine.
- Check the dipstick to ensure the oil level is correct. Then, start the engine for a minute to circulate the oil. Finally, check for leaks.
Always safely dispose of the old oil at a recycling center or auto shop that accepts oil waste.
Replacing Air Filters
Your engine’s air filter ensures clean air flows into the engine, improving performance and fuel efficiency. A clogged filter can strain your vehicle, so replacing it once a year or every 12,000–15,000 miles is a good idea.
What You’ll Need
- New air filter
- Screwdriver (if needed)
Steps
- Locate the air filter housing. It’s usually a plastic box near the top of the engine. If you're not sure, check your owner’s manual.
- Open the housing by unclipping or unscrewing it.
- Remove the old air filter and hold it up to a light. If it’s full of dust and debris, it’s time for a new one.
- Insert the new air filter into the housing, positioning it correctly.
- Close the housing securely.
This is one of the easiest DIY tasks and takes less than 10 minutes.
Checking and Topping Off Fluids
Your car relies on more than just oil to run smoothly. Brake fluid, coolant, power steering fluid, and windshield washer fluid all need to be checked regularly. Here’s how to make sure your vehicle is topped up and ready to go.
What You’ll Need
- Fluids for your car (check your manual)
- A clean rag
- Funnel
Steps
- Engine Coolant
- Locate the coolant reservoir, a translucent plastic tank with lines marking “min” and “max.”
- If the level is low, add the correct type of coolant to the reservoir.
- Brake Fluid
- Locate the brake fluid reservoir near the back of the engine bay.
- Check the fluid level against the “min” and “max” lines. Add brake fluid as needed, but be careful not to spill it on your car’s paint, as it can cause damage.
- Power Steering Fluid
- Find the reservoir, usually marked with a steering wheel symbol.
- Open the cap, check the level, and add more fluid if it’s below the recommended line.
- Windshield Washer Fluid
- Open the blue cap of the washer fluid reservoir.
- Pour in washer fluid until it reaches the top, then close the cap.
Check these fluids monthly or before any major road trip.
Replacing Windshield Wipers
You need to be able to see out of your windshield, and worn wiper blades can leave streaks or fail during heavy rain. Most wiper blades should be replaced every 6–12 months.
What You’ll Need
- New wiper blades (check the size in your owner’s manual or match your old ones at the auto store)
Steps
- Lift the wiper arm away from the windshield until it locks in a raised position.
- Press the tab on the underside of the wiper blade and slide it off the wiper arm.
- Attach the new wiper blade by sliding it into place until it clicks.
- Repeat on the other side.
Test the new wipers with water to make sure they’re functioning correctly.
Rotating Tires
Tire rotation ensures even wear, extending the life of your tires and improving your car’s handling. Experts recommend rotating tires every 5,000–7,500 miles.
What You’ll Need
- Jack and jack stands
- Lug wrench
- Torque wrench (optional)
Steps
- For the correct tire rotation pattern, refer to your owner’s manual. Front-wheel drive, rear-wheel drive, and all-wheel drive vehicles may have different patterns.
- Loosen the lug nuts on all four tires before lifting the car, but don’t remove them yet.
- Use the jack to lift one corner of the car and place it on a jack stand for safety. Repeat for all four corners if you lift the whole car.
- Remove the tires and position them according to the rotation pattern. Front tires might move to the back, and back tires might switch sides as they move to the front.
- Replace the lug nuts and tighten them by hand. Lower the car back to the ground and use the lug wrench to tighten the nuts fully in a crisscross pattern.
If you’re unsure, consult your owner’s manual or ask an expert for guidance.
Practical Tips for Beginners
- Keep a maintenance log to track when you complete tasks like oil changes or tire rotations.
- Invest in quality tools. Reliable equipment will make the job easier and more enjoyable.
- Watch tutorials online.
- Wear protective gear, such as gloves and safety goggles, to keep yourself safe from dirt, chemicals, and sharp parts.
- Start small. Tackle simpler tasks first (like replacing wiper blades), then work your way up to oil changes or tire rotations.
- Listen to podcasts while you're working for a little entertainment (and maybe a few tips).
Reap the Rewards
DIY vehicle maintenance isn’t as intimidating as it might seem and is worth the effort. Not only will it save you money, but it’ll also help you understand your car better. With some basic tools and a willingness to learn, you can handle these maintenance tasks on your own and maybe even enjoy the process.